Let’s be honest. If deviled eggs show up at a party, I’m making a straight line for them. You too, right?
They are creamy, tangy, and ridiculously addictive. Once you find out how easy they are to whip up, you might seriously question why anyone buys store appetizers at all.
I’ve brought these to potlucks, brunches, and those family gatherings where food acts as a peace treaty. They never last long, and that says it all.
So if you’ve been curious about how to make classic deviled eggs that never get left behind on the tray, grab your apron. Let’s crack into it.
Why Deviled Eggs Always Disappear First
Deviled eggs seem simple, but they hit far above their weight in flavor.
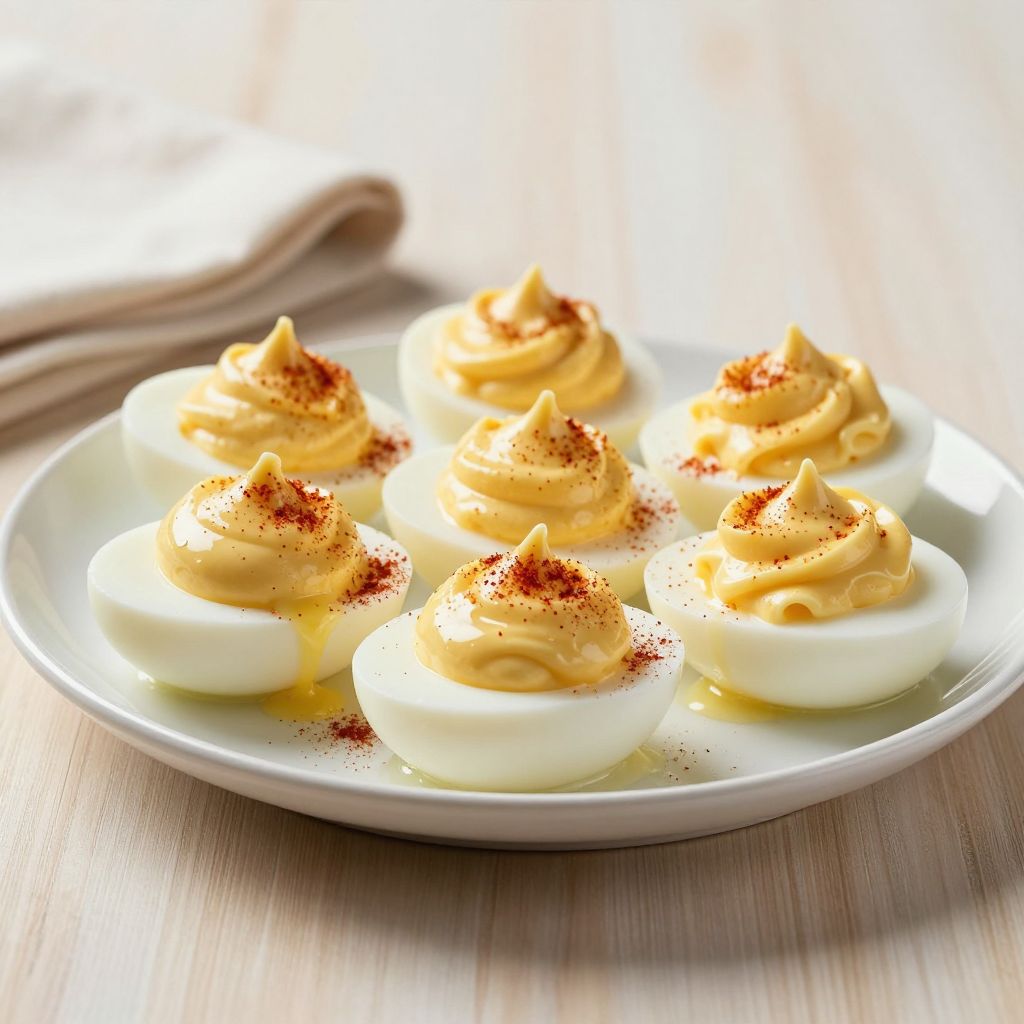
You get creamy yolk filling, a little tang from mustard, the richness of mayo, and a kick of paprika. It’s a flavor bomb in every bite.
They’re also bite-sized, which transforms everyone into sneaky egg hunters the second no one’s watching.
Wondering if they’re really worth the effort? Oh, absolutely.
What You Need To Make Deviled Eggs
Ingredients
- 6 large eggs
- 3 tablespoons mayonnaise
- 1 teaspoon Dijon mustard
- 1 teaspoon white vinegar
- Salt (just a pinch for good measure)
- Black pepper to taste
- Smoked or regular paprika for garnish
Optional Add-Ins
- Chopped pickles for an extra tangy crunch
- Hot sauce if you like things a little fiery
- Chives or green onions for fresh bite
- Crumbled bacon because come on, it’s bacon
How To Make Deviled Eggs
- Step 1: Place the eggs in a pot and cover them with cold water by about an inch. Start them cold so you don’t end up guessing at half-cooked yolks.
- Step 2: Bring the water to a gentle boil over medium heat. Once it boils, turn off the heat, cover the pot, and let the eggs sit for 10 to 12 minutes.
- Step 3: Drain the hot water and move the eggs into a bowl of ice water. Let them chill at least 5 minutes to make peeling easier.
- Step 4: Peel the eggs carefully. Slice them in half lengthwise and pop out the yolks with a spoon.
- Step 5: Place the yolks in a bowl and mash them with a fork until crumbly.
- Step 6: Add mayo, mustard, vinegar, salt, and pepper. Mix until smooth and creamy. If the texture looks dry, a little extra mayo fixes that.
- Step 7: Taste your filling. Want more tang? Add a tiny bit more mustard or vinegar.
- Step 8: Fill the egg white halves with the yolk mixture using a spoon or piping bag. Either way, it’s going to taste great.
- Step 9: Sprinkle paprika on top before serving. It makes them look fancy even if dinner is cereal later.
Tips For Perfect Deviled Eggs Every Time
- Use older eggs. They peel easier than fresh ones, and your sanity will thank you.
- Mash those yolks completely. Smooth filling equals happy bites.
- Chill before serving. Everything tastes better when slightly cold and creamy.
Make-Ahead Advice
You can hard boil your eggs up to two days before. Keep them in the fridge in their shells so they stay fresh.
The filling works great made a day ahead too. Store it in a sealed bag and pipe it in when it’s party time.
Wait until serving to add paprika unless you want red speckles all over your fridge.
Fun Twists To Try
Feeling bold? Try one of these tasty variations.
- Avocado Deviled Eggs: Replace mayo with mashed avocado for a lighter, green twist.
- Buffalo Style: Mix in hot sauce and a little blue cheese. Warning: they’ll disappear fast.
- Curry Deviled Eggs: Add a dash of curry powder for a flavorful surprise.
Why You Need These In Your Life
Deviled eggs are cheap, quick, and downright crowd-pleasing. They fit right in at brunch, holidays, game days, or any random Tuesday.
Is there another dish that makes you look this put together with so little work? Doubtful.
Once you make them a few times, you’ll start whipping them up just because. Midnight snack? Perfect. Lazy morning? Even better.
Final Thoughts
So that’s how you make deviled eggs that always get eaten first.
Stick with the classic or toss in a fun twist and enjoy watching them vanish faster than you can refill the plate.
Looking for more quick recipes? Visit the recipes section for easy snacks and clever cooking ideas.
Classic Deviled Eggs
Ingredients
Method
- Place the eggs in a pot and cover them with cold water by about an inch.
- Bring the water to a gentle boil over medium heat.
- Once the water starts boiling, turn off the heat, cover the pot, and let the eggs sit for 10 to 12 minutes.
- Drain the hot water and transfer the eggs to a bowl of ice water. Let them chill for at least 5 minutes.
- Peel the eggs carefully and slice them in half lengthwise.
- Remove the yolks and place them in a bowl. Mash with a fork until crumbly.
- Add mayonnaise, Dijon mustard, white vinegar, salt, and black pepper. Mix until smooth and creamy.
- Taste the filling and adjust seasoning or add more mustard or vinegar as desired.
- Fill the halved egg whites with the yolk mixture using a spoon or piping bag.
- Sprinkle smoked or regular paprika on top before serving.